Good Morning!
I am going to share some more birthday cards with you today.
This card is one of my favorites and was made from scraps! I used a Cuttlebug Happy Birthday folder to emboss the background paper from Lawn Fawn. The butterflies were created from a Martha Stewart paper punch. I folded their wings and only adhered the center of them to the card. I used a Paper Smooches clear stamp to stamp the sentiment.
This card was created with Washi Tape. The sentiment was inked from a Memory Box woodblock stamp. I used a large retro flower EK Success paper punch to create the flames on the candles. First I paper punched a piece of gold glitter paper. Then I cut off the flower petals and used them as flames. I used foam tape to adhere the flames to the card.
Washi Tape, again! I covered a scrap of white tag with the tape. I used a Heartfelt Creations woodblock stamp to create the sentiment. The background paper is embossed.
Have a fun day!
Happy Friday, Everyone!
I have been busy creating birthday cards all week. Now I need to find time to photograph them and write some blog posts about them. For today I am going to share 2 cards.
Years ago I used Action Wobbles on my cards. They were a little big for some of my images so I was thrilled to discover that last year Art Impressions created Mini Action Wobbles. They are about the size of a nickel and work perfectly on many of my images.
Mini Action Wobbles are springs that you adhere to the back of an image and to your card. When you flick the image, it wobbles back and forth and adds an element of fun to your cards.
Here's today's first card. After I stamped the frog onto patterned paper, I fussy cut it and cut off the head. I adhered the frog's body to the card. Then I attached the Mini Action Wobble to the back of the frog's head and the card. His googly eyes jump around when I flick the head. The sentiment was created with an Endless Creations woodblock stamp. I used a Hero Arts woodblock stamp to create the frog, a D R S woodblock stamp to create the cattails, and a Lawn Fawn clear stamp to make the log.
I have always loved this floppy eared bunny from Alley Way Stamps. For this card I stamped the bunny 2 times and fussy cut both images. Then I cut off one bunny's head, attached the Mini Action Wobble to it, and adhered it directly on top of the other bunny. I used dies from The Stamps of Life to create the balloons and balloon strings. The grass hills were created with Lawn Fawn's puffy clouds border dies.
That's it for today. I promise I'll be back with more birthday cards soon.
Have a great night!
Good Morning Everyone!
As you know I have been spending a lot of time creating gift bags and wreaths. Now it's time to focus on building up my card stash.
I have an 8 pack of Washi tape that I thought would be fun to use on some cards. I used just tape and a Lockhart sentiment stamp on the first 2 cards. It's a gray day here today so the cards are a little dark, which is a shame because I love the way they look in real life. Hopefully they will still inspire you.
Since there are succulents on some of the rolls of tape I decided to use Lawn Fawn's "Stuck on You" clear stamp set on a few of the cards.
Birthday cards are the perfect way to make someone feel great without buying them a present. People will always remember how you made them feel and that you were thinking of them. Go ahead. Make some cards. You'll feel good too!
Enjoy your day!
Hi Everyone!
The projects in this week's classes are Gift Bags. I have been busy creating sample bags to inspire my students.
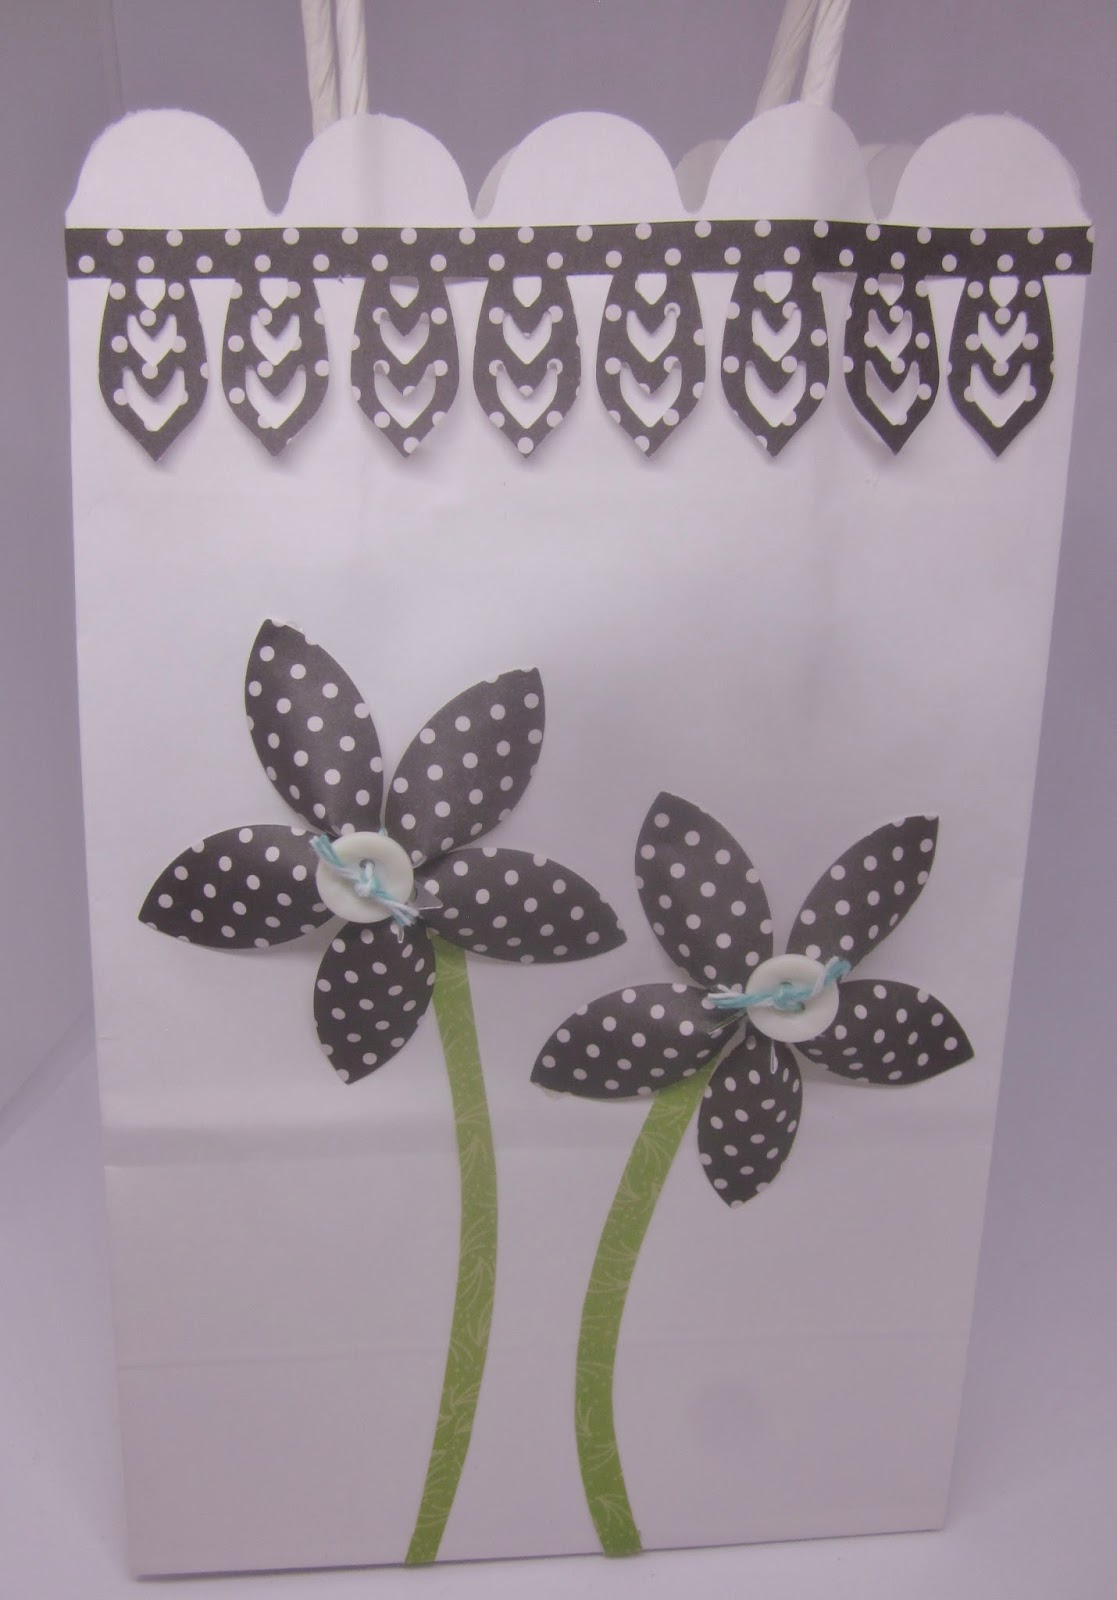
I told my students that they may want to use a border punch to decorate their bags. To help everyone visualize what the border looks like I created this frame a long time ago and updated it the other night.
I used some flower Spellbinder Nestability dies to create this first bag. I added a tiny ladybug brad to each flower.
I used the largest die from PaperTrey Ink's Bloom Builders set one to create the dimensional flower on this gift bag.
Then I used the smallest die from PaperTrey Ink's Bloom Builders set one to create the dimensional flowers on this gift bag.
Many years ago I purchased the template for today's last gift bag from Denami Design. That template is still available at this link. It's a handy template to have when you need a small gift bag.
That's all for today, folks. Have a nice night!
Good Morning Everyone!
I am back to share a couple of more Halloween gift bags today.
I apologize for the glare at the top of the bag. The background paper is from SEI, but you can use any spider web paper and get a similar result. The SEI paper has shiny silver spider webs on it. I added a Martha Stewart skeleton sticker that I had in my stash. I cut the pumpkin from an Accucut Peek-a-boo pumpkin die. I created the sentiment on my computer and added a shiny daddy long legs sticker to it. There are also some Favorite Findings spider buttons on the bag.
I love the little scene on this bag. The tree was created with a Sizzix spooky tree die. I used an Accucut die to create the ghost, Nestability dies to make the pumpkin and the moon, and an EK Success paper punch to create the bat. As shown on a bag yesterday, I only adhered the bat's body to the bag, so that the wings would add dimension to the scene.
Have a great day!
Good Morning!
I love the colors of fall leaves, sunflowers, pumpkins, and Halloween decorations. I love the brisk air that comes in the Fall. I love Fall.
The inside of my home is decorated for Fall and Halloween. The decorations inspired me to create some Halloween gift bags. I gathered my Halloween paper punches, dies, ribbons, and stash of papers and got to work. I used Halloween papers for the background of each bag and then created a scene on each of the papers. Be sure to click on each image so that you can enlarge it and see the details more easily.
I used a Sizzix die to create the cat and an EK Success paper punch to create the bat. I only adhered the bat's body to the paper so that the wings would be dimensional. The moon is a bright yellow circle that I cut with a Spellbinders die. I can tell that it has a green tint in the photo, but trust me it's yellow. Can you see the ghosts in the background? That's a piece of SEI paper.
This bag was an easy one to create. I used a glittery piece of K & Company paper for the background. I added some SEI sheer spider ribbon to the top and bottom edges of the paper before I adhered it to the bag. The spiders are Favorite Findings buttons. I used glue dots to attach them to the bag.
The background is a piece of SEI paper. There are shiny black bats all over it. I used a Sizzix die to cut the spooky house and an Accucut die to create the large ghost. The ghosts in the windows are Martha Stewart stickers. The ghost in the doorway is a Little B sticker.
I have more Halloween bags to share with you. Stop by tomorrow to see them.
The sun is coming out!
Have a great day!
Good Morning Everyone!
If you have been following my blog at all, you know that I am obsessed with pinwheel wreaths. I use double sided tag weight patterned papers to create them. I feel that the papers I use have a fabric look to them and I love that look.
I made myself a new Halloween wreath. The green side of the paper has shiny black bats on it. I put a shiny black enamel sticker in the center of each pinwheel.
Halloween is my sister Pam's favorite holiday so I made her a Halloween wreath too. I adhered jack o' lantern buttons to the center of each pinwheel.
My sister Paula loves vegetables and grows many of them in her garden. I used double sided vegetable patterned paper to make her wreath. I adhered adorable vegetable buttons to the center of each pinwheel.
Remember if you click on a photo it will enlarge the image for you.
Enjoy your day!