Good Morning!
I am back to share another Thanksgiving decoration with you.
I used 4 different designs of patterned orange tag to create these adorable 3 dimensional pumpkins.
I used 3 different sizes of circle dies to cut the papers so that I could create 3 different sizes of pumpkins. After I assembled the pumpkins I cut the bottoms flat so that the pumpkins could stand.
I found some tiny (about 3/4" tall) corks in my stash that I hot glued to each pumpkin to create stems. I tied 2 shades of baby green ric rac to the stems for the vines.
I think that these pumpkins will make an adorable decoration for my Thanksgiving table. They could also be used as place cards just by adding a small gift tag to each of them.
Have a wonderful day!
Hi Everyone!
This week I worked on Thanksgiving paper crafts. I will share them with you over the next week or so. Today I am sharing the decoration I made. It can be displayed on a mantle, a shelf, or wherever you want.
I used a stitched rectangle die to cut the kraft background and a stitched banner die to cut the fall papers. I added brads to the punched holes in the banner papers. The burlap stickers that spell the word "thankful" are mounted on scalloped tag circles. I added a paper punched leaf to each banner. The panels are connected with baker's twine.
This banner folds flat so it would be easy to mail to someone who appreciates handmade decorations.
That's it for today! Enjoy this beautiful "summer" weather.
Hi Everyone!
I have been spending almost every waking hour and some of the hours that I should be sleeping, working on cards and crafts for a craft fair. I have also been teaching some paper crafting classes.
My friend, Brenda and her sister, Kristine came to last week's pinwheel wreath class. Brenda made a fall wreath and Kristine made a Halloween one. Brenda brought some of the store bought cards she had gotten for her birthday. One of the cards inspired me to create today's cards.
I used papers from Lawn Fawn's "Watercolor Wishes" petite paper pack for the background of each card. I stamped some leaves onto each card and colored them with different shades of green Memento markers. Then I used a Fiskars cupcake squeeze punch to punch out an assortment of paper scraps.
The "cupcake wrappers" are glued directly onto the card. I used foam tape to adhere the "frosting" to give the card dimension.
I love the way the cards look. Thank you for the inspiration, Brenda.
Have a great day!
Good Morning!
I am going to share some more birthday cards with you today.
This card is one of my favorites and was made from scraps! I used a Cuttlebug Happy Birthday folder to emboss the background paper from Lawn Fawn. The butterflies were created from a Martha Stewart paper punch. I folded their wings and only adhered the center of them to the card. I used a Paper Smooches clear stamp to stamp the sentiment.
This card was created with Washi Tape. The sentiment was inked from a Memory Box woodblock stamp. I used a large retro flower EK Success paper punch to create the flames on the candles. First I paper punched a piece of gold glitter paper. Then I cut off the flower petals and used them as flames. I used foam tape to adhere the flames to the card.
Washi Tape, again! I covered a scrap of white tag with the tape. I used a Heartfelt Creations woodblock stamp to create the sentiment. The background paper is embossed.
Have a fun day!
Happy Friday, Everyone!
I have been busy creating birthday cards all week. Now I need to find time to photograph them and write some blog posts about them. For today I am going to share 2 cards.
Years ago I used Action Wobbles on my cards. They were a little big for some of my images so I was thrilled to discover that last year Art Impressions created Mini Action Wobbles. They are about the size of a nickel and work perfectly on many of my images.
Mini Action Wobbles are springs that you adhere to the back of an image and to your card. When you flick the image, it wobbles back and forth and adds an element of fun to your cards.
Here's today's first card. After I stamped the frog onto patterned paper, I fussy cut it and cut off the head. I adhered the frog's body to the card. Then I attached the Mini Action Wobble to the back of the frog's head and the card. His googly eyes jump around when I flick the head. The sentiment was created with an Endless Creations woodblock stamp. I used a Hero Arts woodblock stamp to create the frog, a D R S woodblock stamp to create the cattails, and a Lawn Fawn clear stamp to make the log.
I have always loved this floppy eared bunny from Alley Way Stamps. For this card I stamped the bunny 2 times and fussy cut both images. Then I cut off one bunny's head, attached the Mini Action Wobble to it, and adhered it directly on top of the other bunny. I used dies from The Stamps of Life to create the balloons and balloon strings. The grass hills were created with Lawn Fawn's puffy clouds border dies.
That's it for today. I promise I'll be back with more birthday cards soon.
Have a great night!
Good Morning Everyone!
As you know I have been spending a lot of time creating gift bags and wreaths. Now it's time to focus on building up my card stash.
I have an 8 pack of Washi tape that I thought would be fun to use on some cards. I used just tape and a Lockhart sentiment stamp on the first 2 cards. It's a gray day here today so the cards are a little dark, which is a shame because I love the way they look in real life. Hopefully they will still inspire you.
Since there are succulents on some of the rolls of tape I decided to use Lawn Fawn's "Stuck on You" clear stamp set on a few of the cards.
Birthday cards are the perfect way to make someone feel great without buying them a present. People will always remember how you made them feel and that you were thinking of them. Go ahead. Make some cards. You'll feel good too!
Enjoy your day!
Hi Everyone!
The projects in this week's classes are Gift Bags. I have been busy creating sample bags to inspire my students.
I told my students that they may want to use a border punch to decorate their bags. To help everyone visualize what the border looks like I created this frame a long time ago and updated it the other night.
I used some flower Spellbinder Nestability dies to create this first bag. I added a tiny ladybug brad to each flower.
I used the largest die from PaperTrey Ink's Bloom Builders set one to create the dimensional flower on this gift bag.
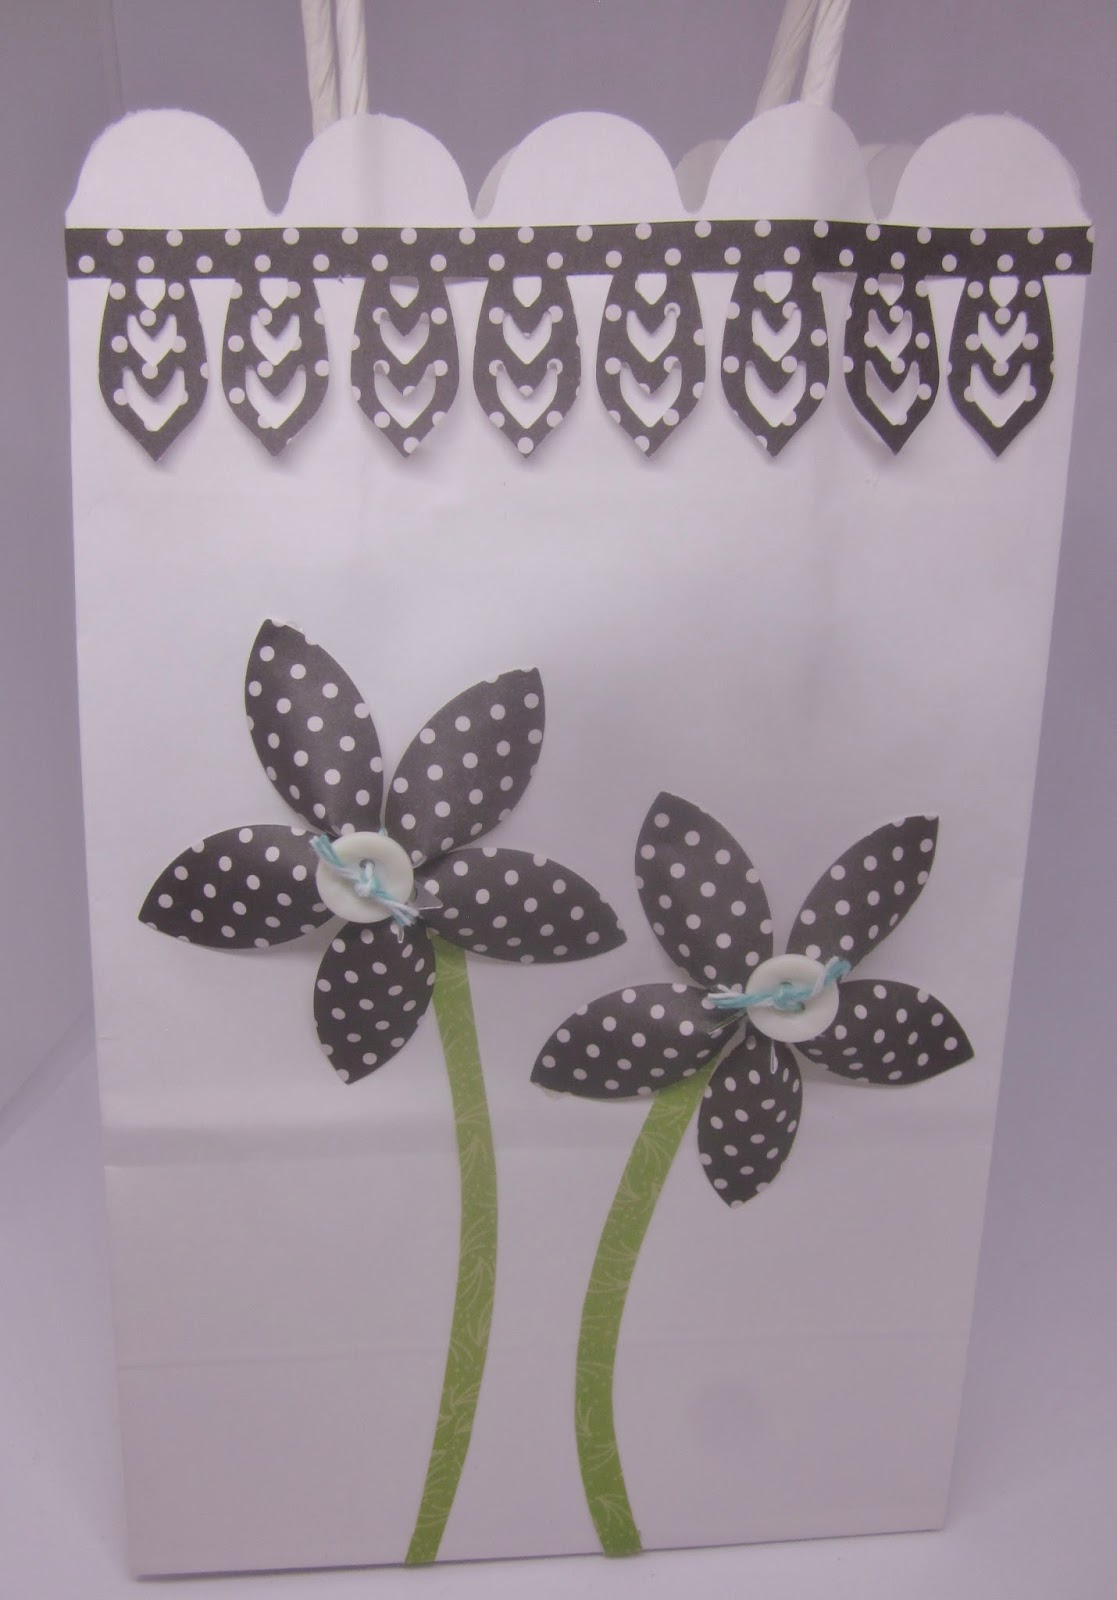
Then I used the smallest die from PaperTrey Ink's Bloom Builders set one to create the dimensional flowers on this gift bag.
Many years ago I purchased the template for today's last gift bag from Denami Design. That template is still available at this link. It's a handy template to have when you need a small gift bag.
That's all for today, folks. Have a nice night!